New Arrivals — Browse our catalog for the latest authentic Japanese sword arrivals. Browse →
January 3, 1615 (Keichō 19, 12th month, 4th day)
Hirano-guchi, south of Osaka Castle, Settsu Province (present-day Osaka City)
Forces
Toyotomi side (Sanada-maru garrison)
Tokugawa side (vanguard)
About 13 min read
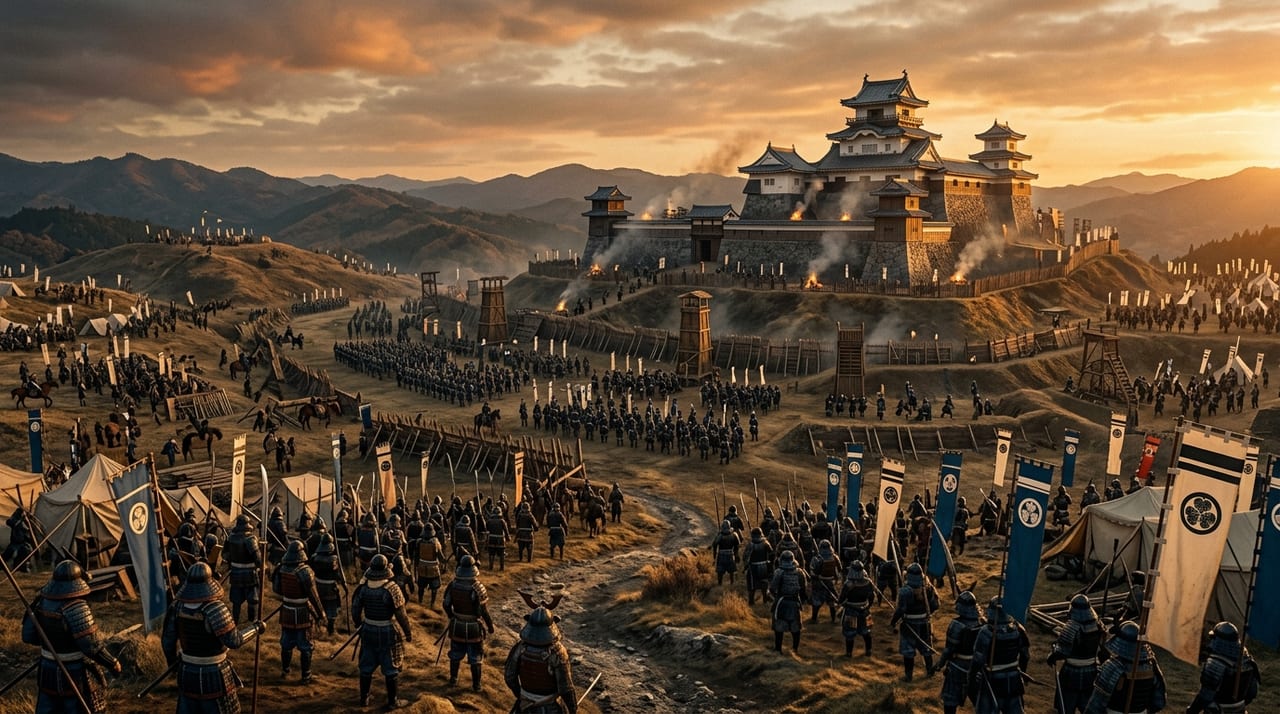
The Battle of Sanada-maru took place during the Winter Siege of Osaka in Keichō 19 (1614), when the Tokugawa and Toyotomi sides faced each other. It centered on "Sanada-maru," an outwork built south of Osaka Castle and defended by Sanada Nobushige, better known as Yukimura. On the 3rd and 4th days of the 12th month by the old calendar, Tokugawa forces under Maeda Toshitsune, Ii Naotaka, Matsudaira Tadanao and others pressed in, and the Toyotomi side drove them back. It is remembered as one of the best-known Toyotomi successes of the Winter Siege.
On the 1st day of the 10th month of Keichō 19 (1614), Katagiri Katsumoto, a senior retainer of the Toyotomi house, left Osaka Castle. The next day the Toyotomi side began preparing for war by buying provisions and recruiting rōnin. Tokugawa Ieyasu left Sunpu on the 11th day of the 10th month and entered Nijō Castle on the 23rd.
Fighting began on the 19th day of the 11th month at the fort at Kizugawaguchi. Further clashes followed at Shigino and Imafuku on the 26th, and at Bakurōbuchi, Noda and Fukushima on the 29th. On the 30th, the Toyotomi side abandoned its remaining forts and withdrew into Osaka Castle. From then on, the contest narrowed to the castle proper and its surrounding defenses.
The Tokugawa side is put at about 200,000 men and the Toyotomi side at about 100,000. Toyotomi Hideyori and Yodo-dono are listed as the leaders on the Toyotomi side, while Ōno Harunaga and others are said to have driven the decision to hold out inside the castle. Heavily outnumbered, the defenders chose to rely on the strength of the castle itself.
Sanada-maru was an outwork (a detached bailey) built south of Osaka Castle, in front of the Hirano-guchi gate. Its estimated site lies at the eastern edge of the Uemachi Plateau, in an area once called "Sanada-yama," near the present Meisei Gakuen campus.
The standard view puts its size at about 220 meters north to south and 140 meters east to west. Sakai Naoto, however, estimates more than 270 meters by more than 280 meters (excluding moat width) once its small enclosures are counted. Views on its shape also differ. Most period maps draw it as a semicircular outwork, and some, such as the siege screens, as a square "kaku-umadashi," or angular barbican, but Senda Yoshihiro sees it as irregular, while Sakai sees it as a near-square pentagon. It had two entrances, east and west, and the western one lay close to the outer moat of the castle town.
In other words, the exact form of Sanada-maru is still not settled. Reconstruction drawings and models should be read as scholarly estimates.
Views on its purpose differ. One holds that it reinforced a weak point of Osaka Castle. The castle was shielded by rivers and wetlands on its north, east and west, but its southern side was joined to the plateau and is said to have been less protected. The other holds that it was an "offensive outwork," meant to lure Tokugawa troops forward and strike them.
Nobushige is said to have drawn on his experience with an umadashi (a small bailey placed before a gate to cover movement in and out and to meet attackers) in the Second Battle of Ueda. To stop an assault from the south, he built an independent outwork at Hirano-guchi and took charge of its defense himself.
The size of the garrison is also unsettled: some accounts say a little over 3,000, others about 5,000.
The Tokugawa side surrounded Osaka Castle by assigning each daimyo a sector of attack, called a mochiguchi. In that arrangement, Maeda Toshitsune faced Sanada-maru, while Ii Naotaka and Matsudaira Tadanao were placed at the Hatchōme sector.
In the early morning of the 4th day of the 12th month (January 3, 1615 in the Gregorian calendar), the forces of Maeda Toshitsune, Ii Naotaka, Matsudaira Tadanao and others attacked. Sanada Nobushige is said to have drawn a large number of them in and then broken them. Accounts also commonly say that the defenders fired guns at the attackers as they closed in on Sanada-maru. The result was a Toyotomi victory that day.
One further note: the remains at Sankō Shrine in Osaka, known as the "Sanada secret passage," are viewed by some as the traces of a trench dug by Maeda Toshitsune's troops when they attacked Sanada-maru.
Although the 4th day ended in a Toyotomi victory, the outcome of the war was not decided there. On the same day, Tokugawa Hidetada arrived at Okayama. On the 5th, learning that Ieyasu was considering a settlement, Hidetada proposed a general assault. Ieyasu rejected it, telling him not to underestimate the enemy and to think of winning without fighting. Hidetada is said to have shown displeasure.
Peace talks had in fact begun on the 3rd, through Oda Uraku-sai. On the 8th and 12th, Uraku-sai and Ōno Harunaga exchanged letters about terms with Honda Masazumi and Gotō Mitsutsugu. On the 15th, the Toyotomi side proposed sending Yodo-dono to Edo as a hostage in return for increased stipends for the rōnin in the castle, and Ieyasu refused. As talks stalled, a barrage by the entire Tokugawa army began on the 16th. Around the 17th, cannon fire is said to have collapsed Yodo-dono's quarters and killed seven or eight attendants, and she is recorded as inclining toward peace from that point.
On the 17th an imperial envoy from Emperor Go-Mizunoo arrived, but Ieyasu declined to meet him and kept the talks under Tokugawa control. From the 18th, negotiations were held at the camp of Kyōgoku Tadataka, with Honda Masazumi and Acha no Tsubone for the Tokugawa and Jōkō-in for the Toyotomi. Terms were agreed on the 19th, and written oaths were exchanged on the 22nd, establishing peace.
The terms called for destroying the second and third compounds while leaving the main compound, and for filling the southern, western and eastern moats of the outer defensive perimeter (the sōgamae). The Tokugawa side promised Hideyori's safety and the confirmation of his hereditary domain, and pledged not to prosecute the men inside the castle. In place of taking Yodo-dono as a hostage, Ōno Harunaga and Oda Uraku-sai were to provide hostages. Sanada-maru was demolished as a result of this settlement.
The outer moat was filled in a rush job. Work on the second compound began the following month, and it was finished on the 23rd day of the first month, after which the daimyo returned home.
A well-known story says that the Tokugawa side deliberately misread "sō" in sōgamae as covering the inner moat too, and filled that as well. But this account appears only in later books and cannot be confirmed in contemporary primary sources. That the filling badly weakened the Toyotomi defenses is certain, but the finer details of such anecdotes call for caution.
The following year the Summer Siege of Osaka brought the fall of the Toyotomi house, which led on to the era of peace known as Genna Engu. The Battle of Sanada-maru did not change the course of the war. Even so, as an engagement in which the heavily outnumbered side used terrain and fortification to turn back an attack, it remains an indispensable episode in any account of the Sieges of Osaka.
Sanada Yukimura
Toyotomi commander (Sanada Nobushige) who built and defended Sanada-maru
Maeda Toshitsune
Tokugawa-side daimyo assigned the sector facing Sanada-maru
Ii Naotaka
Tokugawa-side commander posted at the Hatchōme sector
Tokugawa Ieyasu
Supreme Tokugawa commander who led the peace negotiations
Tokugawa Hidetada
Arrived at Okayama on the 4th and later urged a general assault
Toyotomi Hideyori
Head of the Toyotomi house, besieged in Osaka Castle
Ōno Harunaga
Toyotomi senior retainer who drove the siege strategy and took part in the peace talks