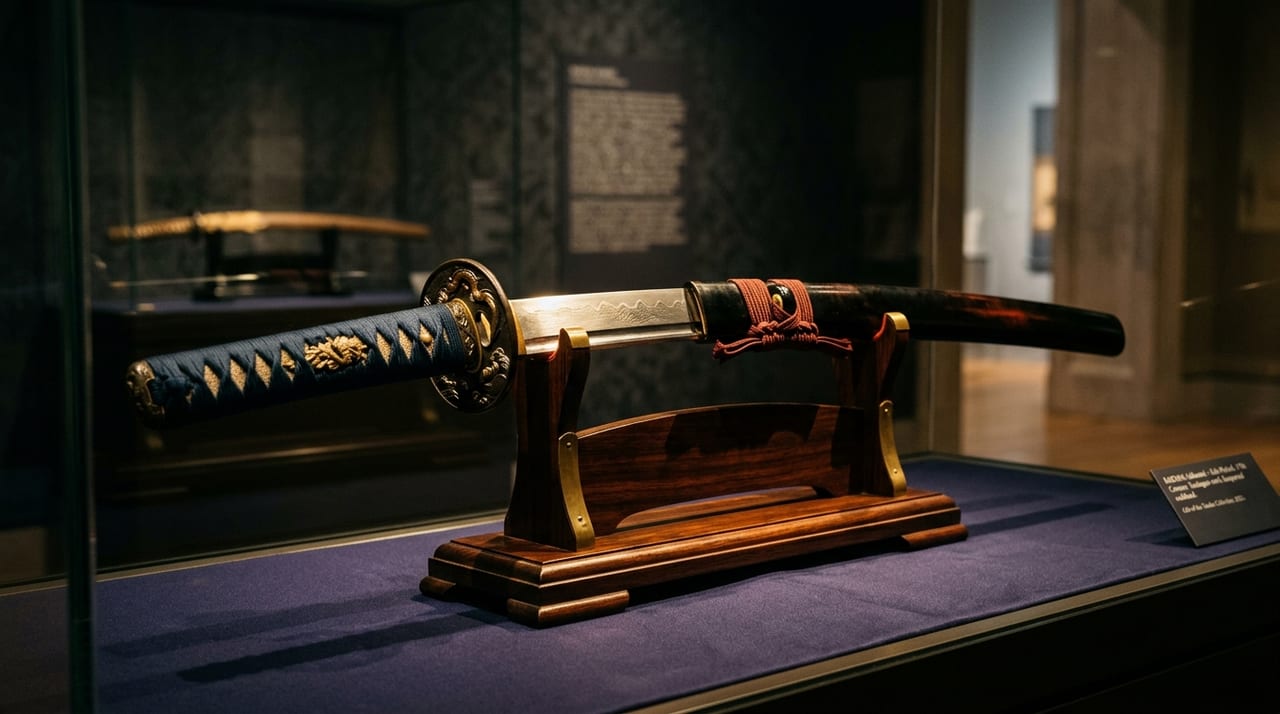
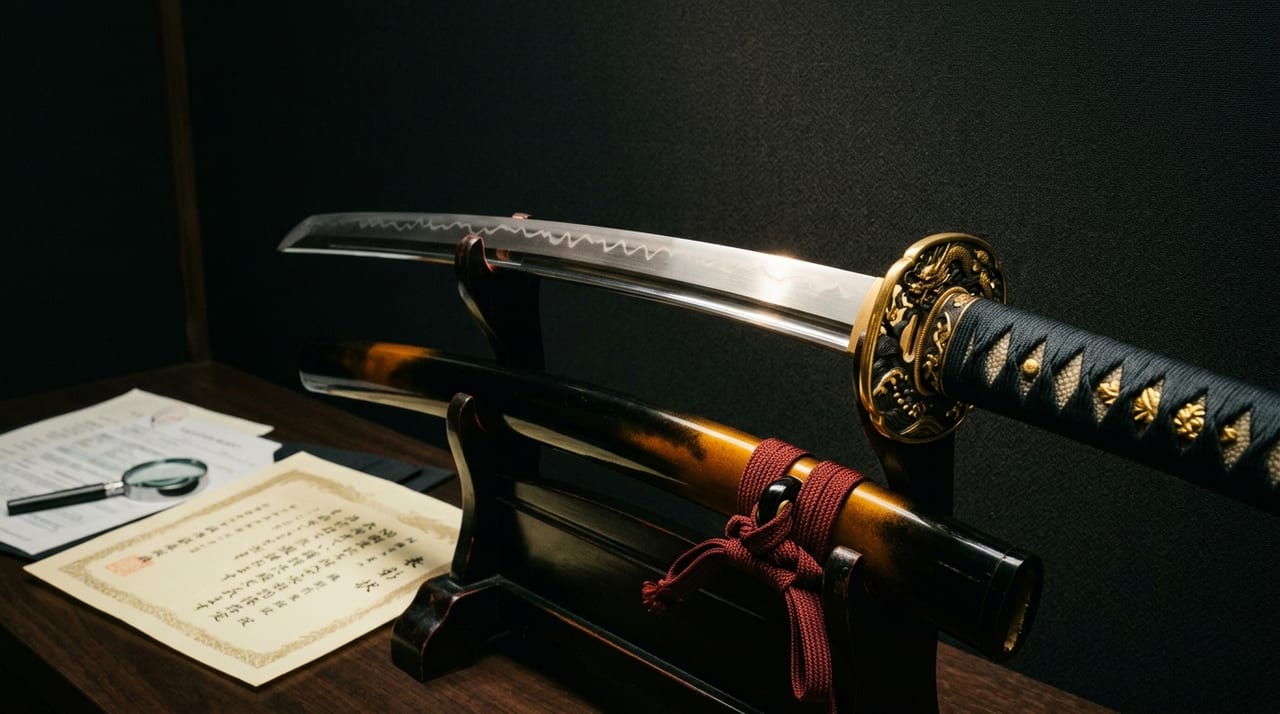
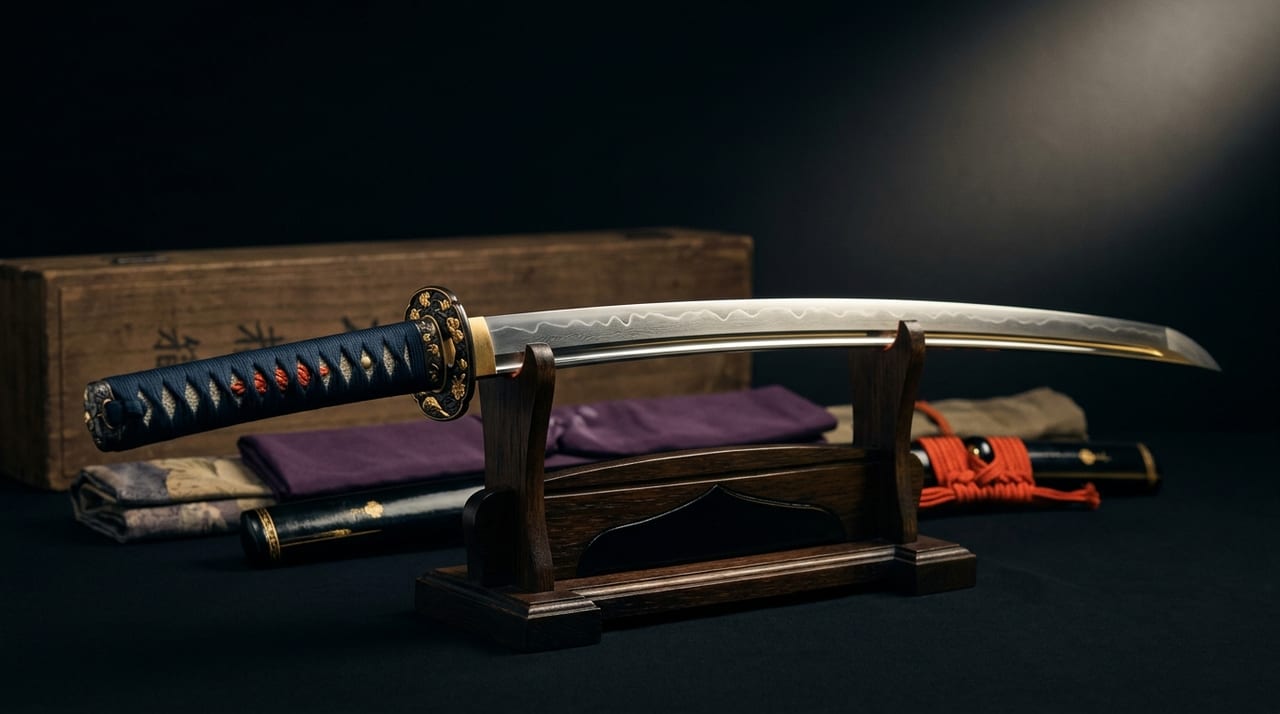
Japanese Sword Photography Techniques — How to Capture the Hamon Beautifully
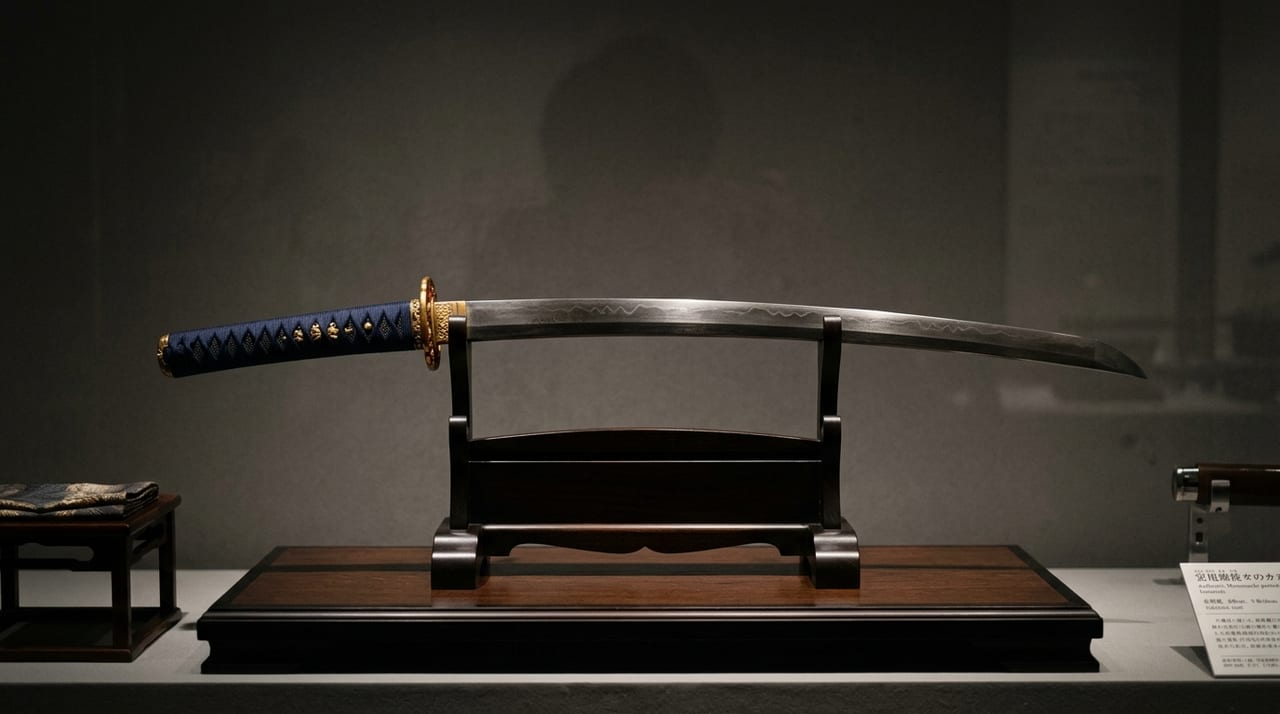 * Image is for illustrative purposes only.
Table of Contents
The Essence of Sword Photography — A Dialogue Between Light and Steel
Capturing the beauty of a Japanese sword in a photograph looks simple at first glance. In reality, however, it is a highly technical undertaking in which lighting, background, angle, and camera settings are intricately intertwined. The difficulty of sword photography lies in the metallic light reflection inherent to the blade. Even the slightest misalignment in how light is applied will cause the hamon to disappear and the beauty of the jigane to sink into darkness. Once you understand the right setup and procedure, even a beginner can take photographs that draw out the true beauty of a sword.
Photographs supplement the character of a sword that words alone cannot convey, and serve as a helpful record both for those considering a purchase and for those reassessing a sword already in their possession. Going through the photography process with care ultimately deepens one's understanding of the sword itself.
Preparation Before Shooting — Setting Up the Blade and Environment
Before you begin shooting, it is important to prepare your environment. Turn off all room lights and leave only the light sources you can control. Natural light from windows is prone to shifts in color and intensity depending on the time of day and can cause unintended reflections and color casts, so it is advisable to block it with curtains or blinds during the shoot.
When handling the blade, take care not to touch the ha or the jigane directly with bare hands. Finger oils can cause discoloration and rust on the blade, so the basic rule is to hold the tsuka or handle it through cotton gloves or a soft cloth. Before placing the blade on the shooting stand, check that no dust or fiber particles are attached to the surface, and if necessary, gently wipe it with a soft cloth before proceeding.
Also tidy up the shooting stand and surrounding workspace in advance. Laying out the space so that the sequence of actions — placing, lifting, and repositioning the sword — can be completed with as little movement as possible makes it easier to prevent accidents such as scratching the blade or dropping it.
Lighting — Designing the Light to Bring Out the Hamon
Lighting is the single most important factor determining the success or failure of sword photography. The basic approach is to direct a single fluorescent light at a 45-degree angle to the blade, but the optimal angle varies depending on the structure of the hamon and the shape of the sword. Trial and error — slowly moving the light source while searching for the position where the hamon appears most beautifully — is indispensable.
To make the hamon stand out, it is effective to direct the light from slightly above the ha side. By applying light from the direction of the ha, the nie and nioi within the hamon begin to glisten as they catch the light. When using a supplementary light source, use it solely to soften shadows from the opposite side of the main light, and take care not to destroy the contrast of the hamon.
Do not forget to maintain the same equipment and power environment throughout so that the color temperature of the light source does not change during the shoot. Swapping out lights or adding another light source partway through will cause the color tone of the series of photographs to diverge, making subsequent comparison and editing more difficult.
Choosing and Setting Up the Background — Accurately Reproducing the Color of the Blade
The color and material of the background fundamentally changes how the blade appears. The optimal background is black velvet fabric or non-reflective black cloth. A black background accurately reproduces the complex tonal gradations of the blade and dramatically heightens the contrast of the hamon. White or gray backgrounds should be avoided, as they make the boundary between blade and background indistinct.
Before shooting, stretch the background completely flat and check that no wrinkles or shadows appear. When securing the sword, it is important to support it with soft materials so as not to scratch the blade.
Choosing a matte material for the background cloth is also a key point. Shiny fabrics reflect lighting and can blur the outline of the blade or create unwanted reflections. When stretching the cloth, apply tension evenly and take care that shadows created by sagging do not appear in the photograph.
Angle and Framing — Finding the Moment the Hamon Shines Most Brightly
After placing the sword on the shooting stand, gradually tilt the whole sword to change its relationship with the light source. A tilt of just 2 to 3 degrees can dramatically change how the hamon appears. Ideally, take more than 10 shots at varying angles with the same setup and then select the single shot where the hamon looks most beautiful.
The light source angle required for hamon photography and for jigane photography is entirely different. Trying to capture both with the same setup will result in neither beauty being recorded properly. Photographing each with a dedicated setup is the way to fully document the complete picture of the sword.
It is safer to search for the right angle by moving the camera or light source rather than the sword. Rather than frequently lifting and tilting the sword, making fine adjustments to the camera position and direction of light while keeping the sword stable on the shooting stand puts less strain on the blade and leads to more reproducible results.
Regarding composition, having both a full-length image of the entire sword and enlarged images of details such as the hamon, jigane, and nakago makes it easier for the viewer to grasp both the overall form and the fine details of the sword.
Camera Settings — For Sharp Resolution
- Tripod: Equipment that is absolutely indispensable in sword photography.
- ISO: Set to a low value of 100 to 400 to minimize noise.
- Aperture: Setting to F8 to F11 achieves sharp focus across the entire sword.
- Shutter speed: As it becomes slow, use a remote shutter or self-timer to eliminate vibration.
- Macro lens: If available, it enables close-up photography of the hamon, jigane, and nakago, bringing details invisible to the naked eye into the photograph.
- White balance: Rather than leaving it on auto, it is recommended to set it manually to match the day's light source. Leaving it on auto can cause subtle shifts in color tone between shots within the same session, requiring unnecessary correction during subsequent comparison and development work.
- Shooting mode: Locking it to manual rather than auto ensures that exposure does not change unintentionally, maintaining consistency across the series of photographs.
Photographing the Mei and Systematizing Records
When photographing the mei on the nakago, it is important to use sidelighting — light directed from the side — to create shadows in the grooves of the carving. Light applied at an angle brings out the characters of the mei and expresses the powerful quality of the tōkō's carving.
The photographs taken serve multiple purposes: as a record of a collection, and as evidentiary documentation for insurance claims, future sales, and appraisal. It is recommended to back up all images to both cloud storage and an external drive, and to organize them with file names that include the sword's name, mei, and date of photography.
For swords accompanied by a kanteisho, keeping shots that show the kanteisho itself and its correspondence to the blade further increases the value of the record by consolidating information in one place when reviewing it later.
Shooting in RAW Format and Post-Processing
When shooting with a digital camera, it is strongly recommended to shoot in RAW format rather than JPEG. RAW data allows for a wide range of adjustment in post-processing, making it possible to correct exposure failures and fine-tune white balance. Careful development processing at the RAW stage is indispensable for faithfully reproducing the delicate luminosity of the hamon and the complex texture of the jigane.
In your development software, carefully adjust shadows, highlights, and contrast so that the hamon emerges naturally. Excessive correction distorts the sword's true appearance, so it is important to aim for a finish that is "faithful to what the eye sees."
Sword photography is also one of the finest ways to deepen one's understanding of swords. By repeatedly observing the sword for the sake of photography and studying the hamon, jigane, and overall form down to the finest details, one's eye for swords is cultivated. The act of exploring the beauty of a sword through the medium of photography is also a practical form of training for developing a discerning eye for appreciation.
Post-Shoot Care — What Happens Next to the Data and the Blade
Once shooting is finished, check the blade once more for finger oils or contaminants, and if necessary perform maintenance before placing it in its saya or sword bag. Making a habit of not leaving the blade exposed for long periods during photography is also important for maintaining its condition.
For data, copying the RAW files to multiple storage locations immediately after the shoot and keeping them separate from the exported images after development provides peace of mind. In case you want to reshoot later at a different angle or with a different light source, organizing files into folders by shooting date makes chronological comparison easier.