How to Display and Photograph Nihontō: Choosing Lighting, Angles, and Display Stands to Show Their Beauty
 * Image is for illustrative purposes only.
Table of Contents
Why Display and Photography Should Be Considered Together
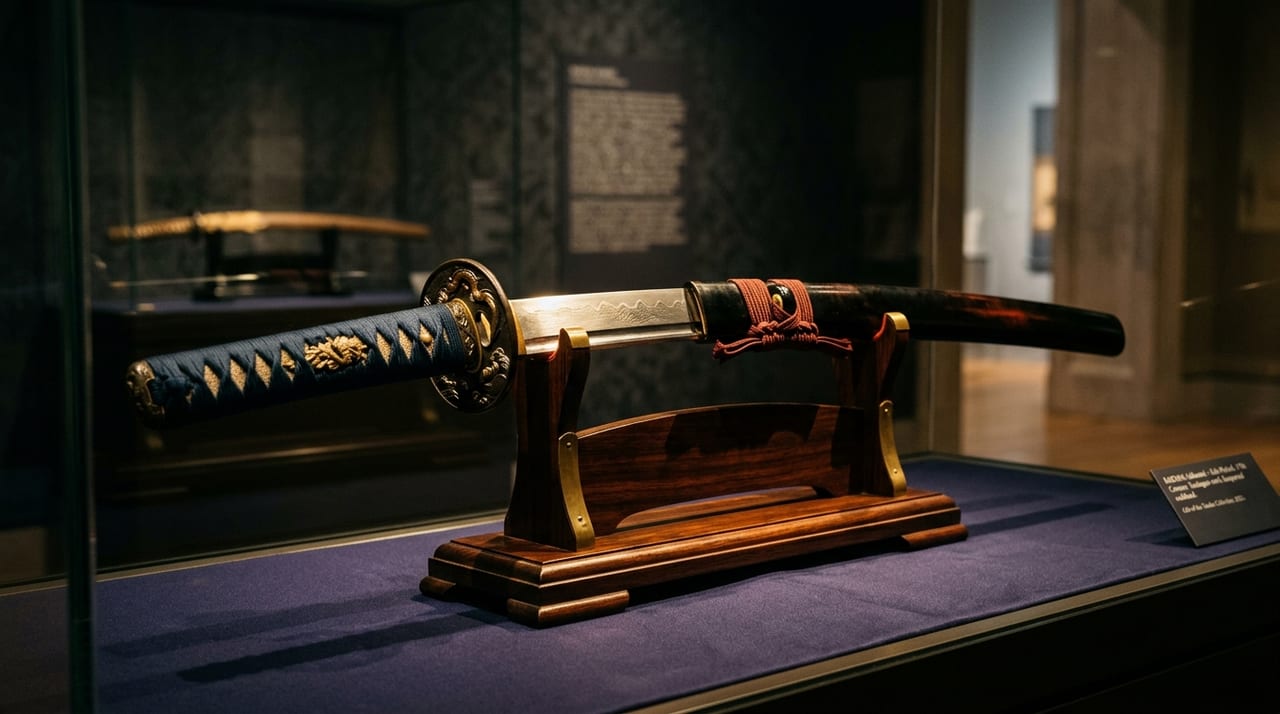
Nihontō, in their sculptural beauty, reveal completely different expressions depending on the viewing angle and the way light is applied. Whether you are appreciating a blade in person or photographing it, the underlying approach is the same. Where to direct light and from which angle to look at the sword's "beautiful parts" — mastering these two points is the foundation of all display and photography.
For sword enthusiasts and collectors, displaying a sword is part of the joy of ownership, and photographing it is a means of sharing its beauty with a wider audience. With the right knowledge and a little effort, a sword in your own collection can be made to look as striking as a museum exhibit. Refining your approach to display and photography is also a discipline of appreciation that deepens your understanding of the sword itself. The movement of the hamon, the texture of the jigane, the shape of the bōshi — as you repeat the cycle of display and photography, the individuality of a sword naturally reveals itself.
Types of Display Stands and How to Choose Them
Katanakake (sword display stands) fall broadly into two categories: dedicated sword stands and general-purpose stands.
Dedicated sword stands come in multiple sizes — single, double, and triple — and are primarily made from materials that complement a Japanese aesthetic, such as lacquered wood or wood-grain finishes. Whether to display the sword with the edge facing up (ha-age) or facing down (ha-sage) depends on the purpose and tradition. Ha-sage is common for displaying iai swords and replica swords, and for arrangements in a tokonoma alcove, while ha-age is more suitable for appreciating the hamon.
In terms of materials, stands made from fine woods such as keyaki (Japanese zelkova), mulberry, and kokutan (ebony) have a refined dignity that harmonizes with the character of the sword. Clear acrylic stands have become more common in recent years, but lacquered wood stands are far more effective at enhancing the atmosphere of a Japanese-style space. Aligning the height of the display stand with the viewer's eye level makes for comfortable appreciation; when placing it in a tokonoma, setting it lower to balance the overall composition is advisable.
As a fundamental rule for positioning the sword, displaying it in its saya (scabbard) allows you to protect the blade while showing the overall beauty. When displaying the blade out of its saya, it is important not to forget regular oiling and re-sheathing after appreciation. Touching the blade with bare hands causes fingerprints that lead to rust, so wearing white gloves is considered basic etiquette when displaying or photographing a sword.
Simply providing ample space in front of and behind the sword stand and being mindful of the contrast with the background greatly changes the appreciation experience. In particular, when displaying the sword in combination with a hanging scroll in a tokonoma, matching the subject of the scroll (landscape, Zen phrase, etc.) to the era and purpose of the sword creates a deeper aesthetic world.
Lighting Fundamentals: How to Light the Blade and Hamon Beautifully
One of the greatest highlights of a nihontō is the hamon (temper line). This pattern, born from yaki-ire (quenching), changes its expression dramatically depending on how light is applied.
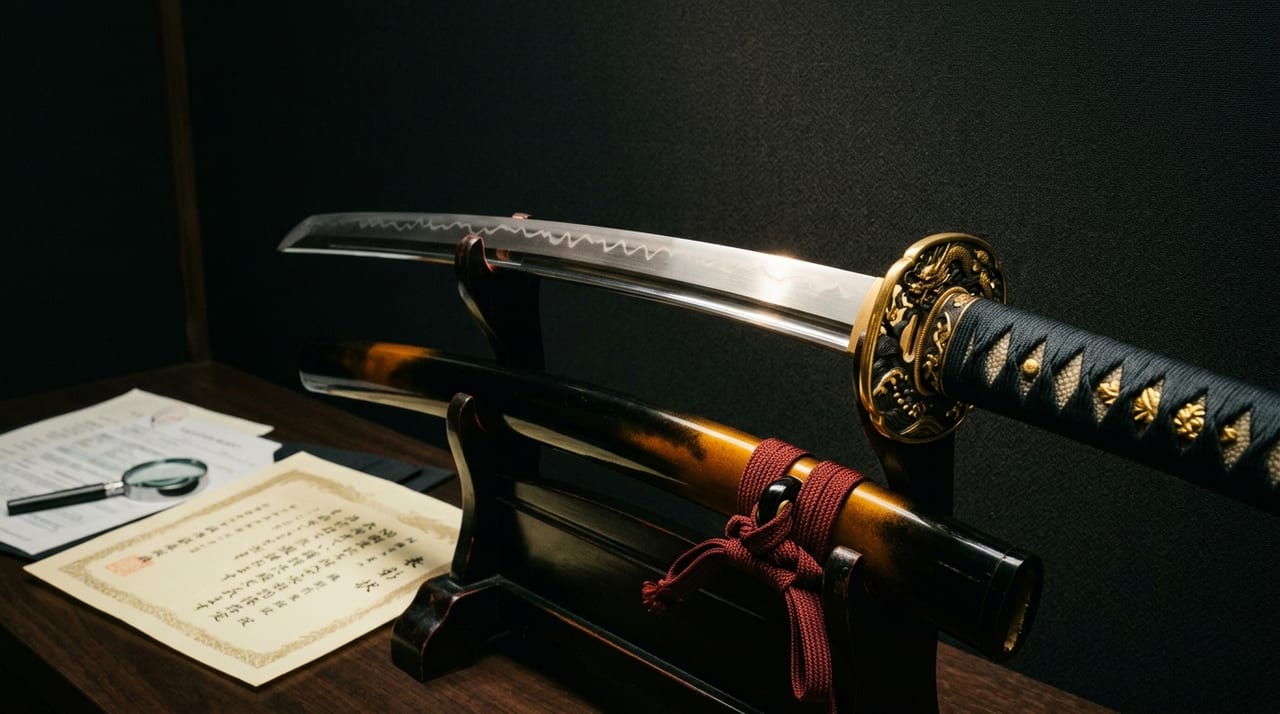
A point light source is ideal for lighting to view the hamon. Directing a spotlight or LED lamp at approximately 45 degrees to the blade causes the hamon to stand out in white. Fine-tuning the angle of light according to the type of hamon — whether suguha, notare, chōji, or others — is one of the pleasures of appreciation. Diffuse light sources such as fluorescent lamps cause the hamon to recede, so it is recommended to turn off other lights as much as possible during appreciation and photography, relying on point light sources alone.
To appreciate the beauty of the jigane (steel of the blade surface), apply light from a wider angle and search for the balance at which the forging patterns called hadame appear on the surface. The varying patterns produced by different forging methods — itame, mokume, nagare-hada, and others — stand out only under appropriate lighting. The jigane of Ko-Bizen and Sōshū-den pieces in particular has an especially profound expression, and gradually shifting the angle of lighting while appreciating it allows you to enjoy its changes.
The bōshi (temper line in the point) and kissaki (point) are important parts that indicate the quality of a sword. Concentrating light on the kissaki causes the form of the bōshi — whether hakikake or komaru — to stand out. Laying the sword on a viewing stand (shirasaya stand) and directing light as if inserting it from the direction of the kissaki brings out its delicate activity.
To show the overall silhouette of the blade, placing the sword in front of a backlight from behind or against white background paper is effective. When photographing an ō-suriage tachi or a sword of great length, the silhouette causes the elegant line of the sori (curvature) to stand out.
Photography in Practice: Camera and Smartphone Settings
The most difficult aspect of sword photography is photographing the hamon. Keeping the following points in mind will raise the quality dramatically.
For a single-lens reflex camera, being mindful of the following settings will yield far more beautiful results when photographing the hamon.
- Aperture: Stop down to around F8–F11 and focus on the hamon.
- ISO: Keep it low at 100–400 to eliminate noise.
- Shutter speed: Because it will be slow, a tripod is essential.
- White balance: Setting it to "tungsten" or adjusting manually accurately reproduces the texture of the metal.
- Lens: Using a macro lens or a lens capable of macro range around 100mm allows you to photograph close-ups of the hamon with far greater beauty.
- File format: Shooting in RAW format allows fine adjustment of the light-dark balance during processing, making it possible to achieve both the whiteness of the hamon and the depth of the jigane.
For a smartphone, if a Pro mode is available, set the exposure slightly darker. Too much light will cause the hamon to blow out, so caution is needed. HDR is not suited to sword photography, and turning it off is strongly recommended. Using the telephoto end or macro mode to take close-ups of the hamon produces striking photographs. Many recent flagship models support RAW shooting, and by using dedicated apps it is possible to achieve results approaching those of a single-lens reflex camera.
Background and Composition: Creating an Atmosphere Befitting a Nihontō
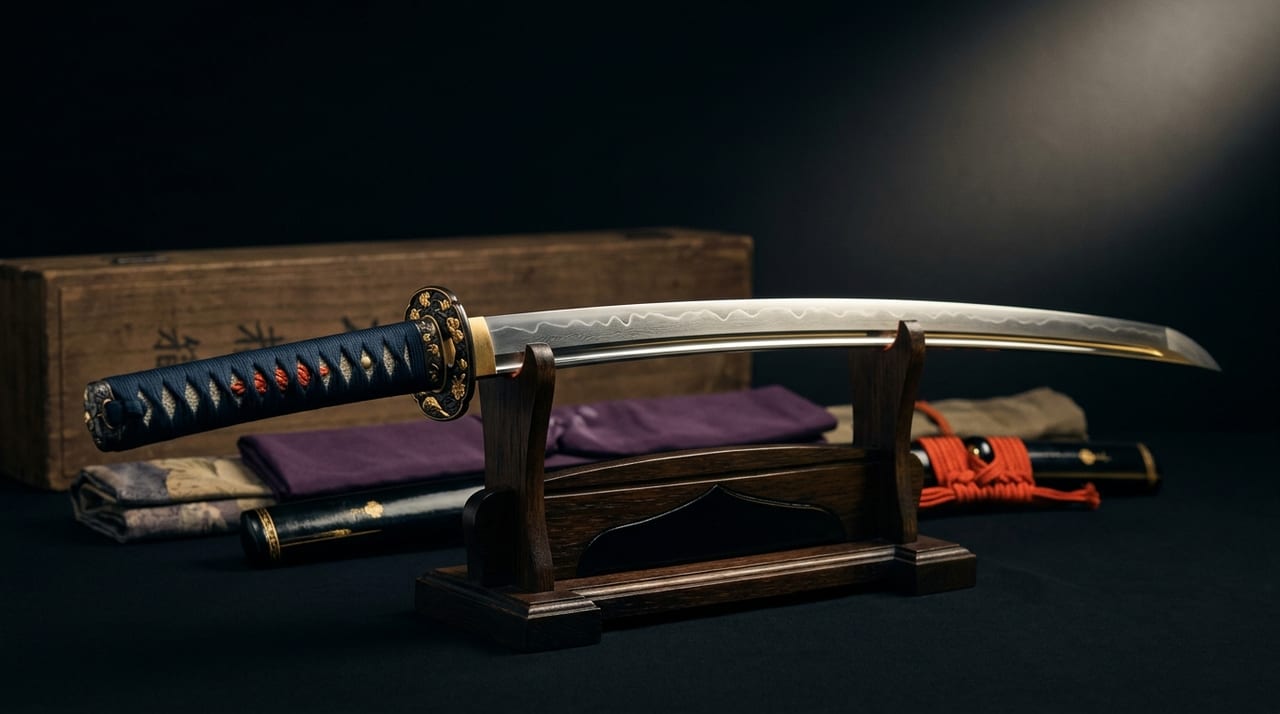
The choice of background greatly affects the impression of a photograph. Simple solid colors such as white, black, or deep navy cause the colors of the sword to stand out. If you want to create a Japanese atmosphere, using tatami, lacquer-finish cloth, washi paper, and the like as a background is effective. However, cloth with overly complex patterns competes with the outline of the blade, so choosing a restrained tone is important.
As a basic principle of composition, placing the sword diagonally introduces movement and elegance. Photographing a horizontally positioned sword from the front conveys the beauty of the sori and the balance of the overall length. Paying attention to the thickness of the blade at the shinogi (ridge line) and the shape of the nakago (tang), and varying the composition section by section, allows you to create a rich record of the sword as a whole.
Adding props such as washi paper, a sword box, an inrō, or chrysanthemum blossoms deepens the world of the sword. If you can choose props that match the era and province of origin, your discernment as a collector will naturally be refined. However, do not forget that the sword is the subject, and the key is to place props unobtrusively.
Making Appreciation and Documentation a Habit
Nihontō change like living things. The hamon that carries the intent of the kaji (smith), the expression of the jigane born from forging, the subtle changes that come with age — regularly documenting these is indispensable for building a deep relationship with a sword. Reviewing photographs while comparing them with the kanteisho (appraisal certificate) and oshigata can also yield new discoveries.
We live in an age where a smartphone is capable of taking more than adequate photographs. Simply being mindful of lighting and composition, you should be able to take a single image that conveys the beauty of a sword in your collection to many people. Visiting sword exhibitions at art museums and museums to learn from professional lighting and display techniques, or attending sword appreciation gatherings to learn the methods of other collectors, is also of great benefit for improving your display and photography skills. Display, photograph, review — it is through the repetition of this cycle that the dialogue with a sword deepens.